Tuesday, 3 January 2012

Snigdha's Marvellously Manageable Meatloaf


Him Indoors loves Meatloaf. Not the ever-so-over-the-top American rock star, but the quintessentially thrifty English suppertime dish. Trouble is, I've never been able to get it right so far. Mainly because the final version has ended up over oily, fatty or greasy. And if you make a greasy Meatloaf, although you may be able to stomach it when hot, there is no way in this world you will manage to eat it cold in sandwiches. The fat will congeal and I think I need say not more. The word 'congeal' will work its magic upon you and you will feel the same revulsion I did on trying to make sandwiches out of the self same super-fatty Meatloaf.

So I'd been wondering how to rehabilitate this great suppertime dish without stacks of fuss and bother. The answer was revealed to me in the most unlikely place. Whilst shopping in Lewisham, I happened to wander into TX Maxx. Although Robbie Williams and I will never be friends, he was right in his observation about the value for money to be found in that particular shop. Amongst other things I found in there was a bespoke loaf tin for making meatloaf. Bespoke because it anticipated the greasiness problem and inbuilt a means for draining off the excess fat during the cooking process. Score!

My new purchase from TK Maxx! Bargain!
So here is my recipe for a herby and flavourful meatloaf. It is perfect with mashed potatoes and gravy.

Serves 2-3 as a main course with mashed potatoes

Ingredients:

320-350g pork mince
500g beef mince
100g pancetta slices
75g white (or homemade) breadcrumbs
1 small-medium onion, very finely diced
2 garlic cloves, peeled and crushed or very finely diced
1 egg, beaten in a mug
2 fresh bay leaves
2 tbsp fresh flat leaf parsley, finely chopped
5 leaves sage, very finely chopped
1 tsp Dijon mustard
½ tsp paprika powder
2 sprigs thyme, leaves removed, finely chopped (just under 1 teaspoon)
A decent glug (between ½-1 tsp) Worcestershire sauce
1 tbsp unsalted butter
1 tbsp olive oil
Salt
Freshly ground black pepper
My aromatics and flavourings

Method:

  1. Preheat the oven to 175 C (non fan oven).
  2. Melt the butter in a non-stick frying pan, and add the olive oil.
  3. Now add the onion and 2 bay leaves. Fry for 4 mins on a gentle heat.

  4. Add the garlic and fry for another 5-6 mins. Do not allow to brown, turn down the heat if necessary. Remove the bay leaves and allow to cool.
  5. Mix the minced meats, herbs, paprika, worcester sauce, mustard, cooled onion and garlic, salt and pepper very thoroughly. You will get your hands rather dirty but it is totally worth it!

  6. Now add the egg. You can beat it in advance, but frankly, the only way of mixing thoroughly is with your fingers, so it is not really worth it. Work through the mixture very thoroughly.
  7. Add the breadcrumbs and mix again. Work all the way through the mixture.
  8. The mix will start to firm now, and it should be easy to work into a loaf type shape to fit your tin.
  9. Shape and place in the tin allowing a little space each side.
  10. Now place your pancetta strips along the whole meatloaf, leaving no gaps. The pancetta will insulate the mince from the heat of the oven and impart its smoky flavours into the meatloaf.

  11. Cook for 45 mins to 1 hour until the pancetta is beginning to brown.
  12. Remove from the oven and allow to rest for 10-15 mins before carving.

  13. Serve with mashed potatoes and gravy.

    The proof the pan works - the icky grease which was left behind


Sunday, 25 December 2011

Recipe Road Test: Delia's Mincemeat Raviolis


On this grey Christmas day in London, I'd like to wish you all a very special day. I hope you enjoy the merriment, company and festivities of the day. We will be cracking open the champagne later to enjoy a Merry Christmas!

Tomorrow I am off to spend the day with my mother in law who will be cooking us a roast dinner (beef, since you ask) with all the trimmings. A proper roast dinner involves a terrific amount of hard work and planning. So I asked whether I should bring the pudding. It turns out no-one is all that keen on Christmas pudding or Christmas cake. And that is pretty damn good, as I didn't plan ahead and make either over a month ago. Instead, I said I'd bring mince pies. Homemade ones.

What was I thinking?! You all know about my fear of baking. I'm just terrible at it. Cakes sag in the middle, muffins are gluey, bread rock hard. It's desperate stuff. My oven and I don't get along. I am fairly sure that it is lying to me about the temperature it is at too.

My very good friend Chris is something of a baking aficionado. He can make cakes, pastries, savouries, cupcakes. The lot. He has patience and care and skill. I asked him how to get out of my mince pie predicament. He put me onto Auntie Delia's recipe for Caramelised Mincemeat Ravioli. The advantages, he said were that firstly the pastry was 'easy' (I was sceptical), but secondly, that it could be made slightly in advance, stored in an airtight container, and grilled with the icing sugar on top when needed. This second advantage sounded good to me.

So, the recipe can be found in 'How To Cook: Book One' but is also currently available at:

My first decision involved the mincemeat. Make my own or buy from the shop? When I looked into what was involved in making my own mincemeat, I was more than a little frightened. One recipe made up three whole pounds of the stuff – what was I going to do with all that mincemeat? Where on earth would I put it??

Again, Chris came to the rescue. He suggested buying a jar of mince and freshening it up. He suggested orange zest or extra dried fruit. I decided to go all out on the booze front (after all, it is Christmas!!). So I took some extra raisins and dried mixed fruit peel and marinated it overnight in a good couple of tablespoons of brandy.


Once marinated, I mixed up in a bowl with my jar of mincemeat. I've told you my secret, but who else is going to know when I serve them up tomorrow?

Now came the truly terrifying part. The pastry.....

Delia recommends keeping the butter as cold as possible by wrapping in foil and refridgerating. So far, so good. Even I can manage that!

Then she recommends sifting flour and salt into a bowl and grating the butter into the flour. Having spoken to my mother in law about pastry making, it appears that the 2 biggest barriers to decent pastry are 1. overworking the pastry and 2. allowing the pastry to become too warm. Clearly, this grating process is to ensure the butter stays as cold as possible for as long as possible whilst increasing the surface area to volume ration enough that combining butter and flour becomes as easy as possible.

My only criticism of the method is putting in all the grated butter in at once. I found the sheer weight of butter started squashing itself down. Instead of fine gratings at the bottom, I ended up with lumps.

My advice therefore, is grate butter a few minutes at a time and mix thoroughly into the flour with a palette knife or spatula before grating again.

The next stage involves adding a small amount of water (2-3 tbsp) to the mixture and starting to work together with palette knife or spatula to bring together. Perhaps my mix was particularly dry, but I needed nearly 6 whole tablespoons of water before any coming together occurred. Delia says more moisture may be needed, but I was disconcerted by needing so much more than the recipe stated. I hoped for the best.....

I managed to get the dough together, then bagged it up and put it in the freezer to chill. I was glad to have got the pastry making stage out of the way and breathed a sigh of relief!

After half and hour (during which I preheated the oven), I retrieved my pastry. Can't say it looked good, but I hoped it would hold together.

I managed to roll out the bottom sheet.

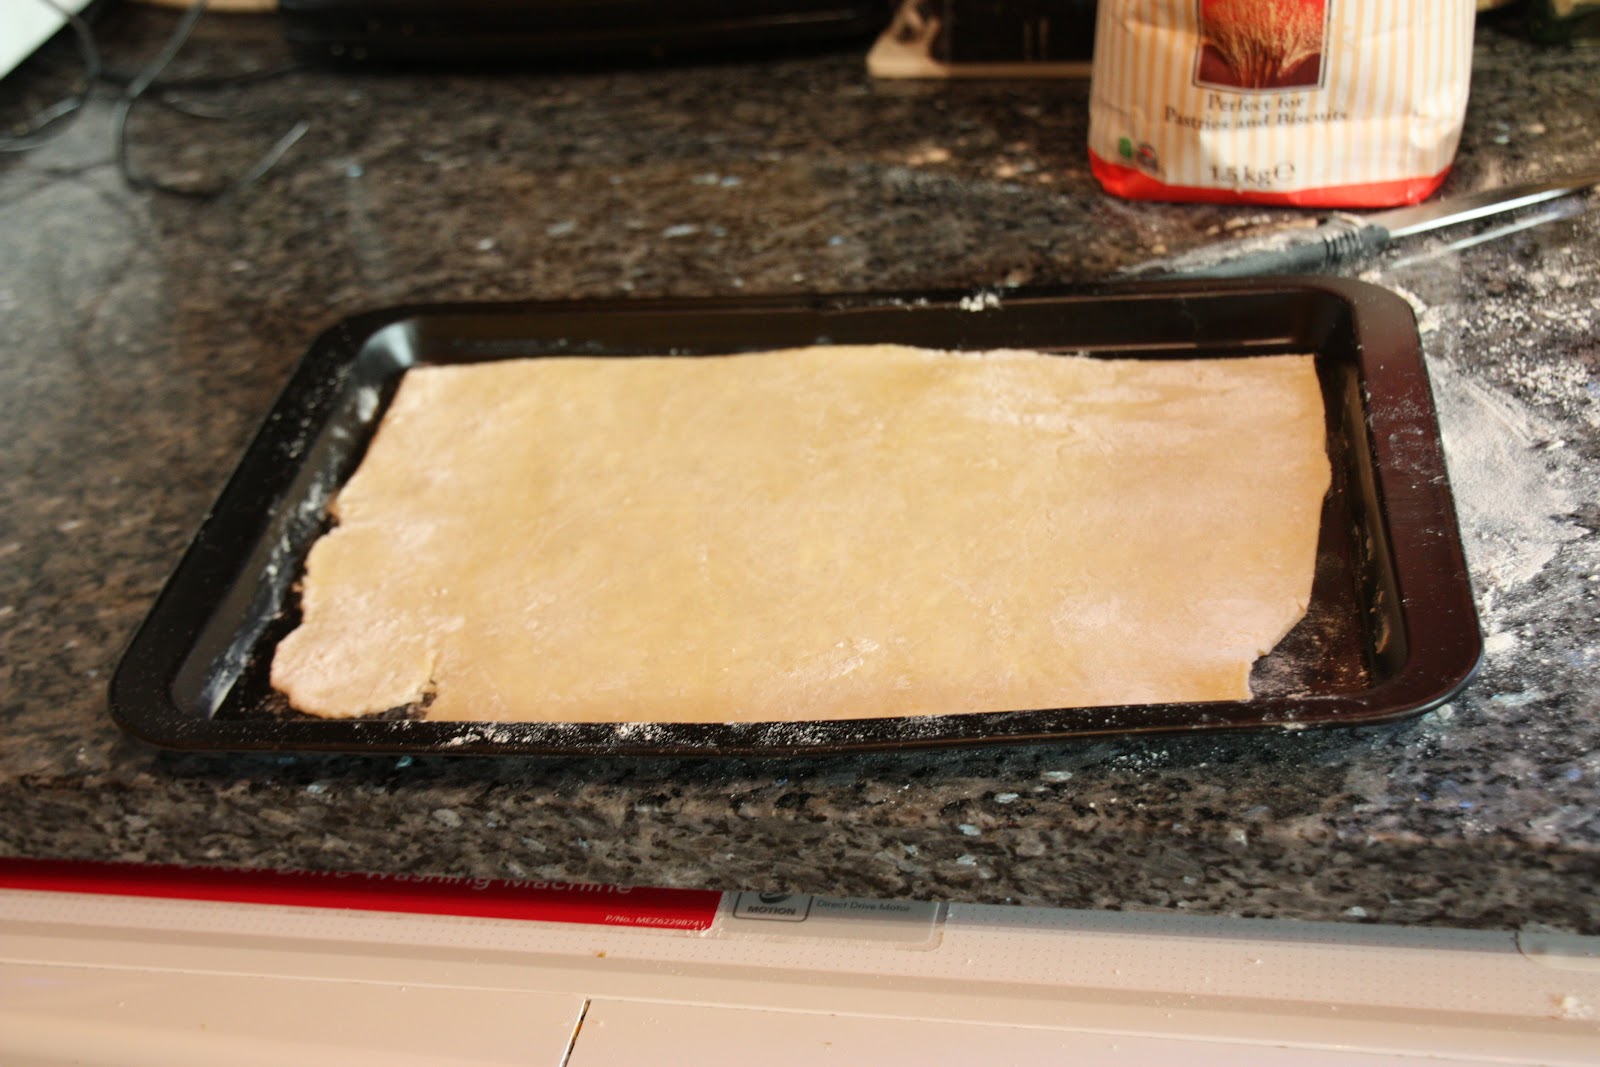
I then laid it out on a baking sheet.

Then it was time to egg wash the pastry.

Next was dotting my mincemeat on the pastry sheet.

Then I had the second pastry sheet to roll out. I will confess this took some repairs!

Eventually I laid my second sheet over the mince and pastry.

Time to squeeze down, shape and use a pastry wheel to cut into individual raviolis.

Then to bake. I have to say I was rather impressed with my results..... Although it won't be until tomorrow when I sprinkle icing sugar and grill to get the caramelised effect will I know whether they truly succeeded or failed.

But not bad so far for a sad failure at baking, eh?

Merry Christmas!

Saturday, 24 December 2011

Christmas entertaining: Slow Cooker Mulled Wine


The days are creeping ever faster towards Christmas, and now we are at the very Eve of the big day, I am getting excited! I love all the joy, kitsch, tomfoolery and fun of Christmas. I see no shame in getting into the spirit of the season. After all, in Narnia under the White Witch the inhabitants bemoaned their luck that it was 'always Winter and never Christmas'! Now that is a fate I wish on no-one. Not even those I actively dislike!

So I wanted to share with you one of my festive favourites. I discovered this little secret just before Christmas 2009. I was having a gathering at my place and I wanted it to be festive, and I'd bought in plenty of food, but I didn't want to be tied to the kitchen all night. So I tried to work out ways to get things done in advance, but also things which could be left to look after themselves.

Mulled wine is such a taste of Christmas. Warming, gently alcoholic, spicy and fruity, it has the flavours of the season and the feeling of the season about it. But when it is your party and it would be rude not to mingle with your guests, you don't need to be slaving over a hot stove making it, do you?

Step in the hero of the hour, the slow cooker. Often the wedding present of a new couple.... or the misguided well meaning present of Christmas past, these really quite useful kitchen gadgets are constantly underestimated and thus are relegated to languishing at the back of a kitchen cupboard.

I can't say I use mine enough. However, it does get SOME use, and I plan to do more with it this Winter. I have already shared with you my Spanish Cocido slow cooker recipe. What I will now share with you isn't complex or very original, but it may just make festive hosting that little bit easier.

I hope you all have a wonderful Christmas – the best of the festive season to you all. I also wish for the best of everything for you all for 2012.

Slow Cooker Mulled Wine


Ingredients

1 bottle (750ml) red wine
50 ml brandy
2 sticks cinnamon
3 green cardamom pods
2 whole star anise
8 cloves
1 orange quartered then sliced finely – reserve about one eighth whole

Method

Prepare your ingredients.


Put the cloves in the eighth of the orange.


Put all the ingredients in the slow cooker. Switch on.

After an hour, enjoy the festive joy of mulled wine with zero huddling over a hot hob. Yay!


Friday, 23 December 2011

Remixing the classics: Maccaflower Cheese


Macaroni Cheese is one of the first dishes I ever learned how to make. Our teacher demonstrated to the whole class in the home ec room how to make the dish one week, so that we would follow and make it the next week. It was a very simple affair, with no flourishes or flavourings, and was an introduction to learning how to cook.

Macaroni Cheese is a classic English comfort supper dish. But these days with all the wonderful food influences we have from round the world, it can seem a little bland. In one of my previous posts I discussed how I was inspired by Dub Reggae to make an alternate version of a dish (see the article here). Well, that has led to a couple of discussions of which other dishes could be 'remixed' or 'mashed up' to make something a little original and a little new.

Recently, on her wonderful show 'Baking Made Easy', Lorraine Pascale (supermodel turned super pâtissier) made a highly indulgent Macaroni Cheese, with cream and dolcelatte. It certainly is glam! http://www.bbc.co.uk/food/recipes/glam_mac_and_cheese_92848)

My remix involves bringing together Macaroni Cheese with that other British classic; Cauliflower Cheese. Mixing up the pasta with the cauliflower gives 2 different textures to the dish, and means you get a little bit of veg thrown in (perhaps one of your five a day). It also involves using spices to accent the white sauce. And my addiction for using pancetta in nearly everything I make continues. No, I've not gone mad, but a little pancetta here gives a little meatiness and added oomph to a real Winter warmer.

It may be chilly outside, but serve yourself a hot bowl of this and you'll forget all about the cold!

Serves 2 as a main meal

Ingredients:

100g pasta (I used fusilli, but macaroni is what you should be using, after all!)
160g cauliflower florets
25g flour
25g butter
350ml milk
100g cheddar cheese, grated
40-50g parmesan, finely grated
¼-½ tsp ground nutmeg
½ tsp paprika
1½ tsp Dijon mustard
80g cubetti de pancetta/bacon lardons (optional)
1-2 tbsp undyed (or homemade) breadcrumbs


Method:

  1. Preheat your oven to 175°C if using a fan oven or 195°C if using a non-fan oven.
  2. Put a large saucepan of water on the hob and bring to the boil. If using pancetta or bacon, dry fry in a non-stick pan until just cooked, about 5 mins. Place on a plate and set aside.
  3. My pasta needed 12 mins until al dente. So I put the pasta in the boiling water first. You may as well cook the cauliflower florets with the pasta; it saves energy,. Hassle and washing up. They only need 7 mins. Hence I was able to cook the pasta for 5 mins then added the cauliflower for the remaining 7 minute cooking time. 

     
  4. Whilst the pasta and cauliflower is cooking, start on your cheesy white sauce. Melt the butter in another pan until liquified. Add the flour. Mix thoroughly.

  5. Keep cooking for about 3 minutes stirring all the time. This stops burning and ensures the flour is properly cooked out.


  6. Now add the milk in a small drizzle at a time. Do not cut corners here. You need to try to prevent getting lumps in the sauce. I use a small whisk to mix the milk in, whisking away to ensure an even consistency before adding more milk. 

     
  7. When all the milk is incorporated, keep heating and stirring. Now should be around the time you drain the cooked pasta and cauliflower. Put back into the saucepan you cooked them in.
  8. You need to keep cooking the white sauce until it thickens to the consistency of double cream. Add in your ground nutmeg, Dijon mustard and paprika to the white sauce. Stir and take off the heat.
  9. Add 30g parmesan and 65-70g cheddar to the sauce and mix up thoroughly.
  10. Now add the pancetta and bacon to the cooked pasta and cauliflower. Add the cheesy white sauce. Mix thoroughly.

  11. Now transfer into an oven proof dish. Top with the remaining cheddar, parmesan and breadcrumbs.


  12. Put into the oven for 15-20 mins until the cheese has melted and gone golden with touches of brown.


Wednesday, 14 December 2011

French Lentil Stew a la Snigdha


Serves 2

Ingredients:
4 parsnips
4 large pork sausages cut into quarters
160g green lentils
10 cloves garlic, peeled
400ml hot chicken stock, although you may want to make an extra 100ml just in case (see below)
8 slices bacon/pancetta
5 sprigs thyme (fresh)
2 bay leaves
½ tsp herbes de provence (dried)
3-4 spring onions, cut into rounds
2 tbsp olive oil
Salt
Freshly ground black pepper


Method:
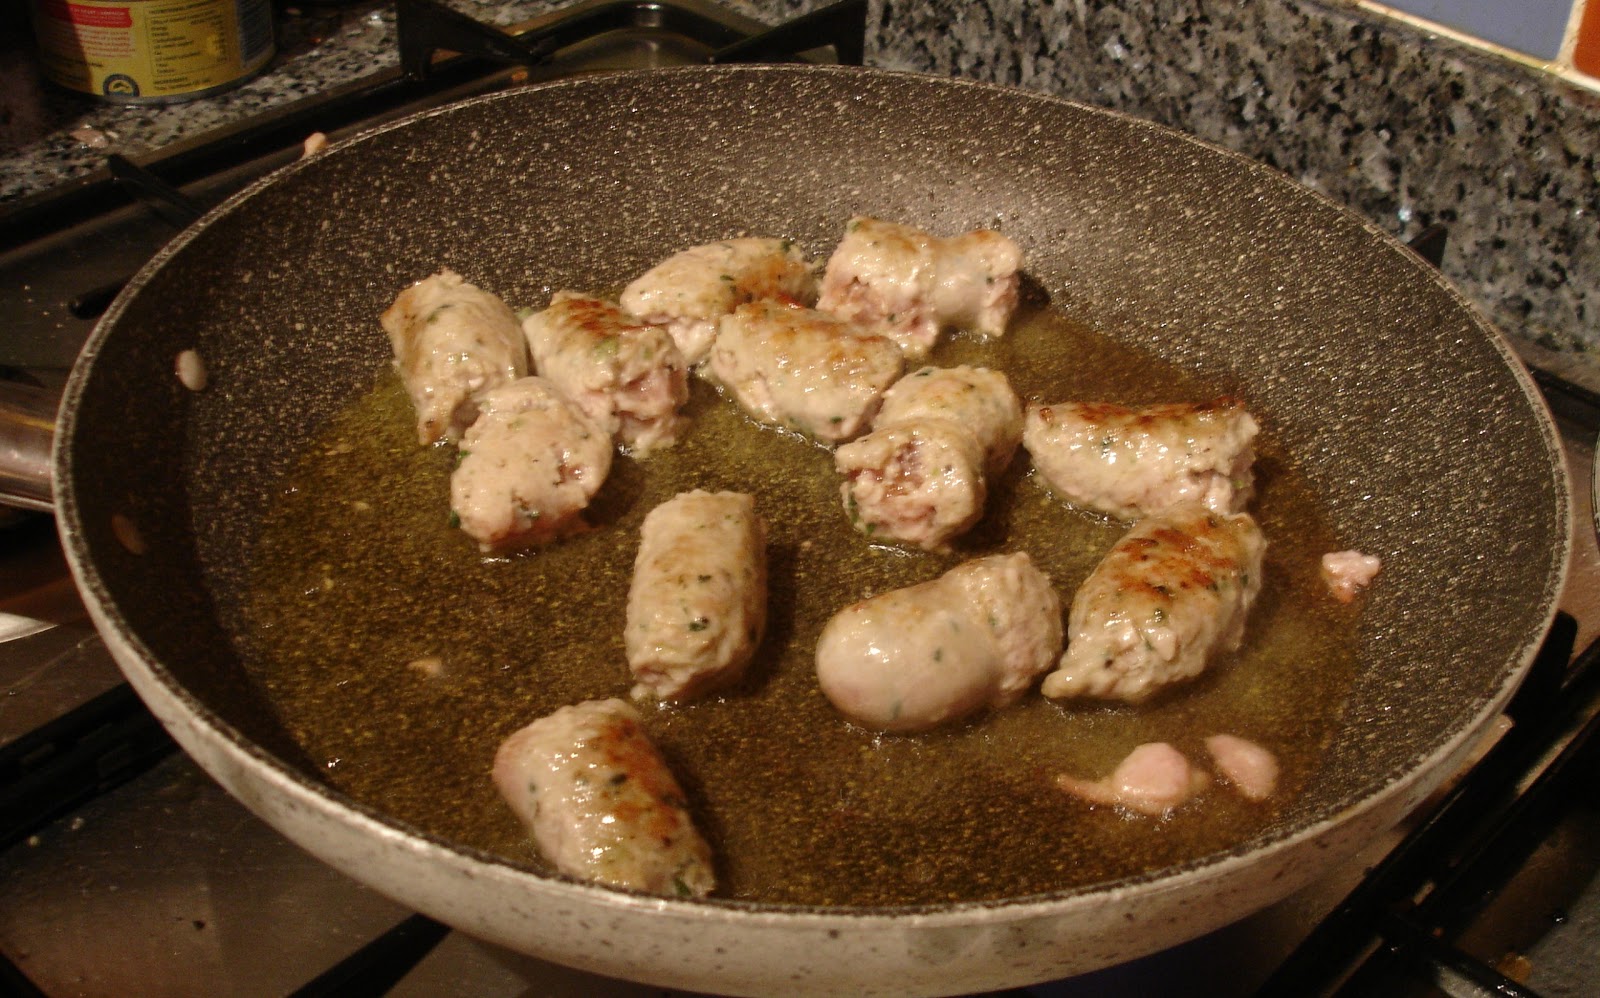
  1. Put olive oil in a large frying pan (for which you have the lid) and heat. Add the sausages. Fry them until they just start going brown around the edges, about 5 mins. In another pan, dry fry the bacon until cooked and lightly browned. Put on a plate and set aside.
  2. Add the garlic cloves and cook for another 4 mins.
  3. Add the lentils and stir, heating them up for around 1 minute.
  4. Add the stock, parsnips, bay leaves, thyme and herbes de provence. Stir until thoroughly mixed. Bring to the boil.
  5. Put the lid on the pan, turn the heat down to a low simmer.
  6. Cook for 30 minutes, checking a couple of times close to the end of the cooking time. You may find that the pan gets dry (depending on the height of simmer your hob provides), so add a couple of drizzles of extra stock if necessary.
  7. Add bacon, cook for another 15-20 minutes.
  1. Check the lentils are tender and soft and the parsnips cooked. If not, give them another 5 minutes. When ready, remove the bay leaves and thyme sprigs.
  2. Taste and season as required.

  1. Serve in bowls sprinkled with the spring onion rounds.

Wednesday, 30 November 2011

Snig's Chick Pea Salad


I'm not as good at getting my five a day as I should be. I find some salads bland, and cannot abide by overboiled veg. Perhaps I am fussy, but I do worry that I am saving up problems for the future. Hence an interesting and zingy salad is always a source of excitement to me.

I recently visited my local Turkish grocers, where I found some very appetising looking shish kebabs. Perfect for a weeknight when I can't be sure when the slings and arrows of the London Transport system will finally allow me to cross my own threshold. There have been days that the 6 miles from home to work (as the crow flies) has taken an hour and a half – how depressing!

This salad is a great accompaniment to grilled meat, fish or halloumi, this salad is inspired by the food of the Eastern Meditteranean.

Serves 2-3 as a side dish with meat/fish/meat substitute

Ingredients:

½ red onion, sliced into fine slices of about 1” (2.5cm) long
2 spring onions, cut into rounds
2 tsp fresh coriander leaves, chopped
4 tbsp dry couscous
3 tbsp hot water
8-10 ripe cherry tomatoes, quartered
cucumber chopped into ½ cm (or just slightly larger) cubes
400g tin chickpeas, drained then rinsed
1 tsp white wine vinegar
1 tbsp extra virgin olive oil
salt & freshly ground black pepper to taste

Method:
  1. In a small container with a lid, combine the couscous and hot water. Leave for 5 minutes, stir thoroughly and leave for another 5 minutes. Fluff up with a fork.
  2. In a bowl, combine the reconstituted couscous, onion, spring onion, tomato and cucumber. Mix up to allow flavours to infuse into the couscous. Cover and leave until you are ready to serve.


  3. Mix up your dressing by whisking together the vinegar and oil in a mug. Set aside.


  4. Now combine the other ingredients. Dress with the dressing.


  5. Season to taste and serve.


Friday, 25 November 2011

Reggae Reggae Litigation: The High Court Verdict

Earlier this month, in my previous article about recipes and plagiarism, I commented on the High Court litigation brought by Tony Bailey against Keith Valentine Graham (better known as Levi Roots). 


I've just received notification from a lovely student of mine who has been observing the whole trial that Bailey's claim has been rejected by the court. Many thanks to her for her prompt report - (you know who you are!)

It would appear that during the course of the hearing, which has lasted two whole weeks plus, there has been much name-calling and muck-raking. 


Levi had claimed on Dragon's Den that the sauce recipe came from his 'grandma'. He has since, in the High Court trial admitted that was incorrect, and was part of a marketing ploy to make the product attractive. It appears that we are all suckers for the idea that a particular recipe or formula has been lovingly passed on from one generation to another. I wonder how many other products and recipes are similarly presented as being from granny, but end up being a lot more modern? 

Anyway, the result is that Tony Bailey's claim for a proportion of the profits of Reggae Reggae Sauce has been dismissed. Bailey as the loser of the case will now have to pay Levi Root's legal costs. 


These costs have been awarded on the 'indemnity' basis - which means that pretty much all of Levi's costs, even those not directly linked to steps in the litigation - will have to be paid by Bailey. Unless Bailey has taken out after-the-event insurance to cover the risk of losing at trial, could be so high as to financially cripple him or render him bankrupt. High Court costs for the solicitor alone start at £300 per hour.


But is this a total vindication of Levi Roots? No. The High Court Judge when delivering judgment stated that he did not believe either Roots' nor Bailey's stories. He informed the parties that his judgement had to be based solely on the evidence which was corroborated (in other words confirmed by) other witnesses. 

The chances are even this criticism will not do Roots much harm. The story will most likely hit the evening news tonight, and will fuel curiosity as to the product which led to so much bad blood and dispute. 

But will I be cracking open the Reggae Reggae Sauce? Probably not. It isn't like Granny used to make, is it?